Friday, June 30, 2017

Mermaid Tag

Steampunk Mermaid Tag
I came across the June Challenge over at Creative Embellishments and decided I would play along! Of course I came across it the afternoon of the 28th, giving me about 2 1/2 days to think up a project and complete it! I made it, with about 50 minutes left! Edit: Although the challenge said it closed at 11:55pm EST, when I tried to add my link, it was already closed, at only 11:16pm EST. I wish I had some of Creative Embellishments products to add to my tag, thankfully it wasn't a requirement! I do now have another place to go shopping, I'm sure the hubs will love that! LOL

Background ready for color!
I started out with a #12 tag that I made using some think chipboard and an industrial paper trimmer! (The hubs used to use it to cut aluminum for seamless eaves-troughs AKA: the gutters on your roof!) I glued down some tissue paper, my "sheet-metal," a bit of paper, and some of my seaweed. I added my texture paste clock, then gave it all a good coat of white gesso.

Amazing Casting Resin + Tim Holtz's Riveted Metal Embossing Folder
As a side note about how that riveted metal was made, go watch Mixed Media ATCs with Opal Magic Wax by Keren Tamir!

Background misted and spritzed!
After the gesso had dried on the background I used Distress Spray Stains: Cracked Pistachio and Mermaid Lagoon; Heidi Swapp Color Shine: Sweet Mint; Shimmerz Coloringz: Well Blue Me Down and Oh Say Can U Sea; and Shimmerz Vibez: Jeni B Bleu. I just sprayed rather randomly, drying between layers of colors, until I got what I wanted.

My glue of choice this whole project, Tim Holtz Distress Collage Medium: Matte
For my mermaid's tail I used 140# watercolor paper, ran it through my Sizzix Big Shot using Tim Holtz's Riveted Metal Embossing Folder, then used a glue stick to randomly give adhesion points for the Foil Transfer Sheets by Ranger (Vintage pack).

Adding Prima Finnabair Art Alchemy Metallic and Opal Magic waxes to my mermaid!
I didn't have any real plan going in on where I was going to add which color of wax where, and I don't think it makes a big difference! Rarely do my crafts have an all out plan!

The Mermaid, Hat, and Seaweed all came from cut files found on the Silhouette Store!
The fish were fussy cut from a paper in Graphic 45's "Steampunk Debutante" Deluxe Collector's Edition, the seahorses and sand dollar are a Spellbinders Die D-Lites set, some of the gears are from Bead Landing, and some have no (known) brand.
The seaweed was cut from a sheet of American Crafts White Vellum, and sprayed with Heidi Swapp's Color Shine: Tinsel or a combination of Heidi Swapp Color Shine: Sweet Mint and Shimmerz Coloringz: Oh Say Can U Sea.

Wednesday, June 28, 2017

No Spell Check

No Spellcheck {or backspace}
This is the typewriter I learned to type on! The kind where you need reinforced fingers to "hammer" those keys down! I still own this typewriter, it was my dad's, and I still use it when I want authentic typing.

Kaisercraft "Art of Life" Collection
I dug out some Kaisercraft papers I've had hoarded for I don't know how long and decided they would work perfectly for my vintage style page about my vintage typewriter!

Transparent gesso; nuvo "Aquamarine" mousse; Shimmerz "Coal" Paint; Tim Holtz "Typo" Stencil
Distress Oxides "Vintage Photo" and "Broken China"
Distress Crayons "Vintage Photo" and "Black Soot"
I knew I was going to be folding down some of the top of this paper, I didn't want it to be white, I didn't want to add gesso, and I didn't want any inks to possibly bleed through. My solution? Distress Crayons!

Before adding "Broken China" Distress Oxide
Inked up with Distress Oxides & sprayed with water to "activate"
The button is from {A Flair For Buttons}
Some Thickers Corrugated Letters, and some puffy alphas from Hip Kit Club!
 Product List: 
  • Shimmerz Paint: "Coal"
  • Hip Kit Club Exclusive Alphas for "Spell" 
  • The button/flair: {A Flair For Buttons} Etsy Shop  
  • Advantus - Tim Holtz - Idea-ology Collection - Ephemera Pack - Expedition
  • Thickers - Corrugated - Kraft Charm
  • Fancy Pants - Swagger Collection - 12 x 12 Cardstock Stickers
  • Kaisercraft - Art of Life Collection - "Film Strip" & " Remember"
  • Martha Stewart Crafts - "Scallop Dot" Edge Punch
  • Maya Road Chipboard Shipping Tags
  • Tim Holtz Distress Crayons Set 3 (Vintage Photo & Black Soot)
  • Tim Holtz Distress Oxides - Broken China & Vintage Photo
  • Tim Holtz "Typo" Layering Stencil
  • Tim Holtz Journaling Tickets
  • Tonic Studios - Nuvo Embellishment Mousse - Aquamarine 
  • Tonic Studios - Tim Holtz - Paper Distresser 
  • The papers under the photo, the swirly gold paperclip, the heart, and "captured" all came in a RAK from Vivian Lake @ scrapbook.com (May 2017 Not To Be Squared Challenge) 
  • A bit of hemp twine  
  • Teal thread

Monday, June 26, 2017

hello tag


hello tag!
I had an urge to use flowers and make a tag, it probably didn't help that Pinterest had a few as "recommendations." This is my first vintage/shabby chic tag, at least with this much to it! I learned something vital though, I kept seeing all those tags with layer upon layer, and I found out why...you need to add a new layer to cover up...unexpected results!


The majority of the products used on this were either paper from my "scraps" drawer (yes, I really have one...or three!), or embellishments that no long have a package to identify them, or in the case of the flowers, never had a package!


As you can see from the following photos, the original colors of most the materials didn't make it to the end! I was experimenting with texture and technique and figured if all else failed I could always just paint it all! (Which is just about what ended up happening!)


I used Mod Podge: Paper: Gloss as my adhesive (mostly because it was the fullest bottle within reach!) and scrunched up some tissue paper and stuck it down.
Added a piece of corrugated cardboard and more tissue paper.

I've had this scrap of paper for many years, and wanted to see if I could get the design/texture without the color. It didn't quite work!

Lots of Mod Podge and a sprinkling of seed beads, just to see if they'd stick!

By now I was just going layering crazy and added some Tim Holtz tissue paper scraps I had to hold the beads in place and to test how hard or easy the pattern was to cover...but mostly to hold the beads.
This was straight acrylic paint that went on thick so I used a baby wipe to try and smear it thinner, but eventually gave up because the red beads still showed too much!
The final way I was able to cover all the colors, a mix Ranger Texture Paste with white and peach acrylic paint!
Layers, to cover up those unexpected results!

I used Tim Holtz's Distress Oxide "Worn Lipstick" to at least have some of the colors come together! The only product I know (for sure) is the banner pieces, which is from the Teresa Collins "He said, She said" line.

I used acrylic paint and some Ranger Texture paste on the gears, and that wonderfully textured coral colored paste is Shimmerz - Texturez - Crushed Coral.
I added the Crushed Coral texture paste to the hearts, painted that "hello" white, and added my ribbon!

Sunday, June 25, 2017

June 20, 2011 Layout - Hip Kit Club June 2017 Main & Color Kits
These photos appeared in my Verizon Flashbacks and I knew I had to scrap them! Mostly becasue I didn't even remember them, thank goodness for auto back-up!

This layout is rather straight forward, especially since the majority (as in almost all!) of the products came from the June 2017 Main & Color Kits from the Hip Kit Club

The background paper is Pinkfresh "dream on," and the striped paper is a Hip Kit Club exclusive, "By the Sea" by Kimberly Hutchison. The "You Are My Sunshine" strip came off the "By the Sea" paper as well. The black polka dot washi tape came from my stash. I think it's one of the first washi tape rolls I bought when I learned about this wonderfully fun and highly addictive product!

Papers both from the Hip Kit Club June 2017 Main Kit

The "You Are My Sunshine" strip came from the striped paper, the washi is from my stash.

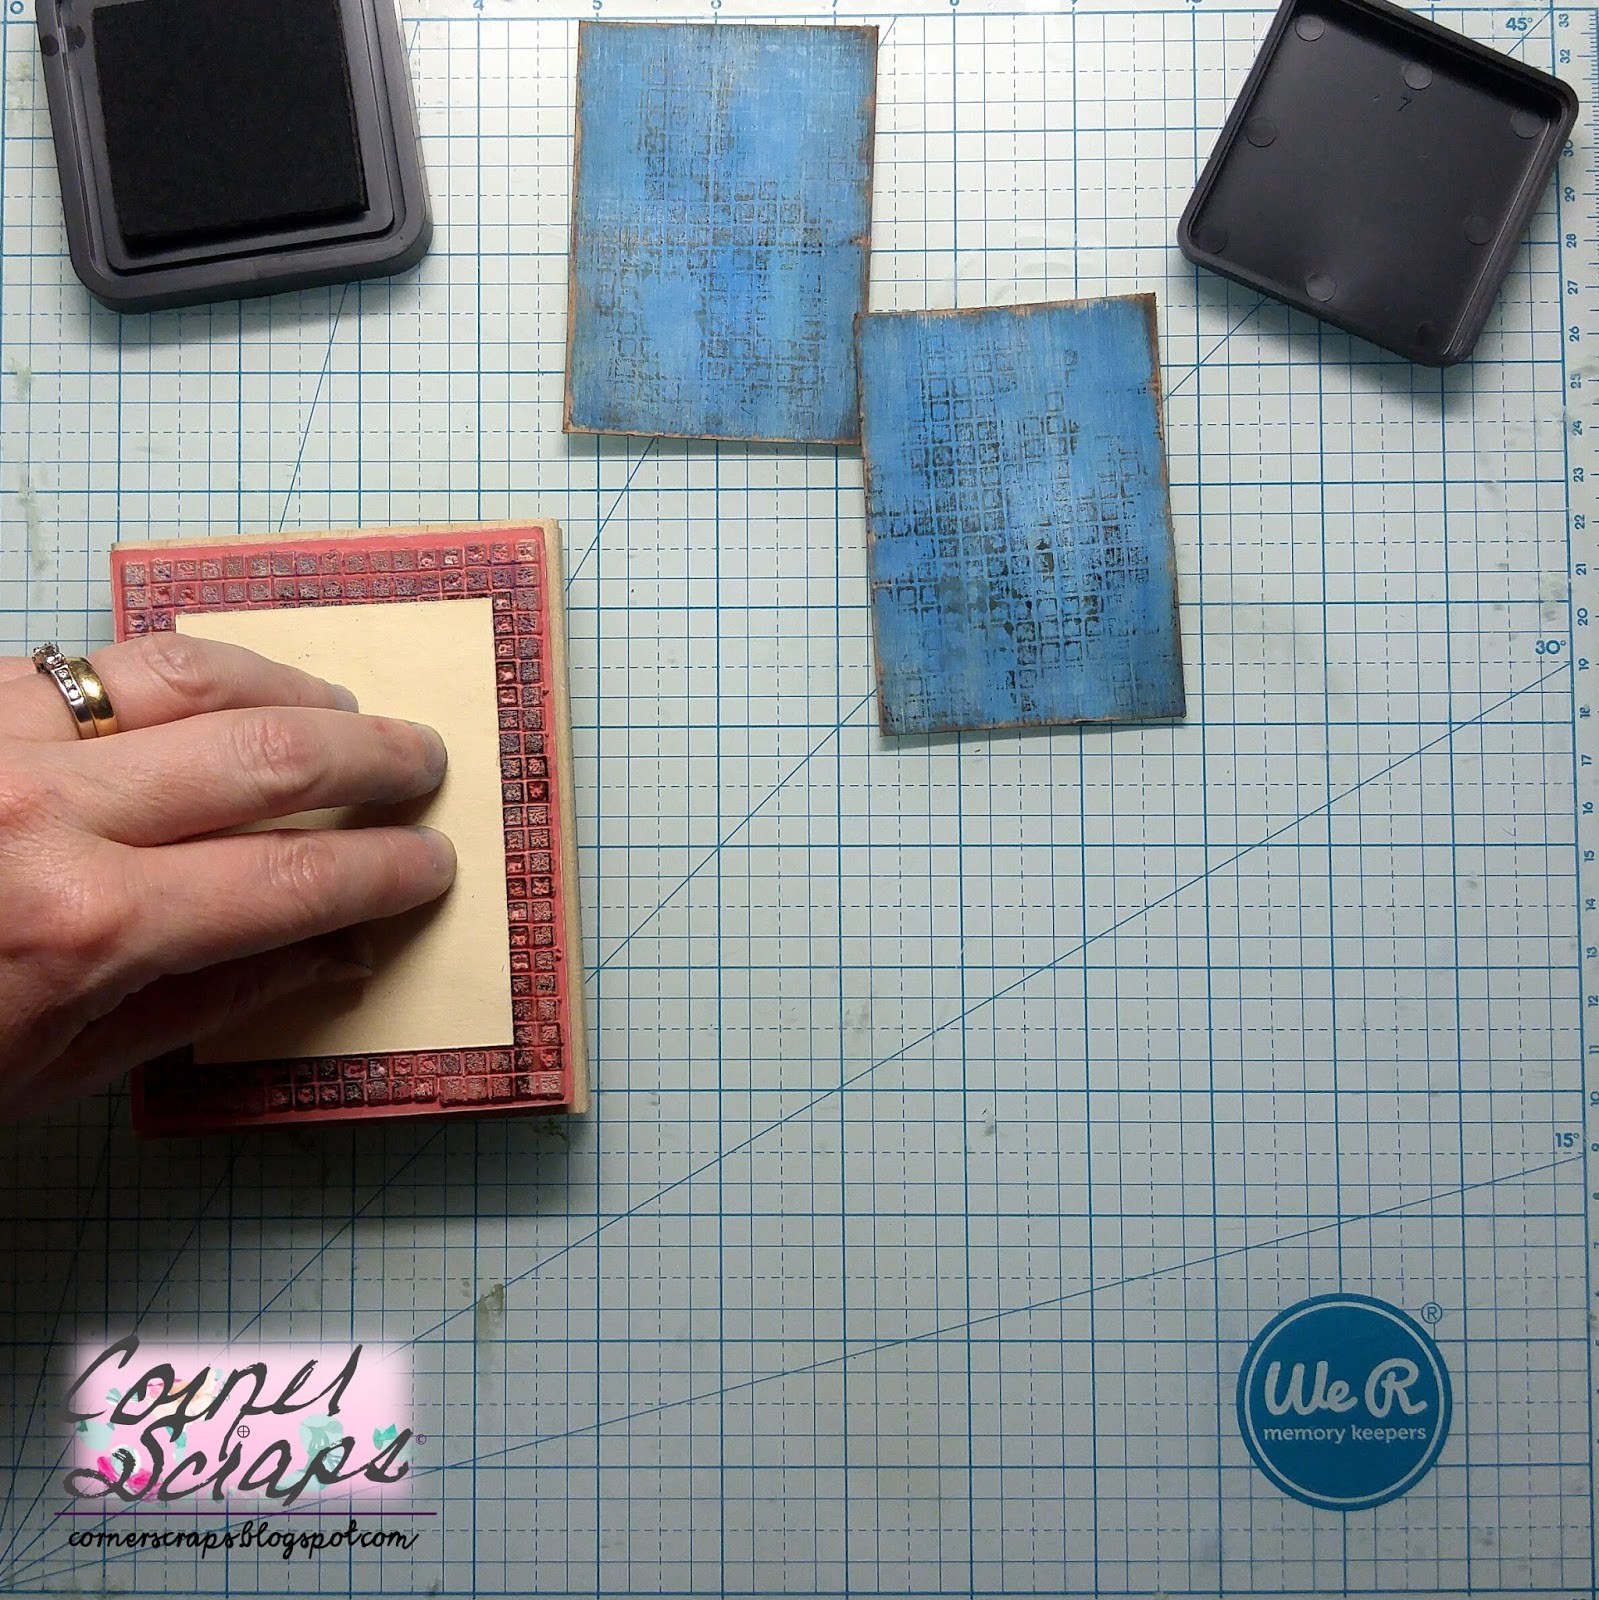
I coated the Pinkfresh paper in clear gesso, then, using a Ranger blending tool, I randomly "dabbed" the paint (American Crafts: Vicki Boutin: Cool Colors: "Daiquiri Ice") on the stencil (Echo Park - "Beach Towel"). Both the paint and the stencil came in the Hip Kit Club June 2017 Color Add-on kit

Added some stitching with gold metallic thread.
Since some of the embellishments I planned on using had gold accents on them, I decided to use a gold metallic thread to stich across the top of the striped paper and the bottom of the "You Are My Sunshine" strip.

Also used "Daiquiri Ice" on the corruated cardboard.
I came across a piece of corrugated cardboard when I was rearranging a small corner of my scrap room, and I decided I wanted to use some to add dimension and texture to my layout. First I coated it in white gesso so seal it up, then I added the "Daiquiri Ice," which I felt helped with the flow of the layout.

Yellow(ish) scallops from Pink Paislee: Paige Evans: Oh My Heart: "17"
I decided on the placement for my photos, and I wanted to add a border to the bottom, but I also needed to "connect" it to the top. When I saw the scallped side of the Pink Paislee: Paige Evans: Oh My Heart: "17" paper (also in the Hip Kit Club June 2017 Main Kit) I found my solution! I fussy cut the scalloped strip out and added it the layout.

The twine is from my stash, all other embellishments are from the June 2017 Main Kit, Hip Kit Club.
Embellishments, from the Main Kit, are American Crafts: Vicki Boutin: Ephemera, American Crafts: Amy Tangerine On a Whim: Phrase Thickers, American Crafts: Shimelle Little by Little: Enamel Shapes, and Hip Kit Club Exclusive: Puffy Alphabet Stickers by Kimberly Hutchison. The twine is from my stash.

The "Wild and Free" square and the "&" are from another Pink Fresh "Dream On" paper.
I fussy cut the "&" from one of the squares found on another Pink Fresh "Dream On" paper.

The "silly" button is from {aflairforbuttons} Etsy Shop
The "silly" button came from {A Flair For Buttons} and the blue button came from my stash.

Friday, June 23, 2017

Anchor's Away!

Another ATC to share! I don't have photos of the process along the way, mostly because the process took way too long! But it's a rather straight forward ATC...I think! But, I am going to give a list of products!

Anchor's Away ATC!


**The anchor is a cut file from the Silhouette Store.

**Machines used: Silhouette Cameo & Sizzix Big Shot.


Products:
  • Lawn Fawn: Dye Ink Pad: Peacock (used with the Compass Stamp...which bled more than I expected!)
  • Distress Grit Paste (used with the Echo Park stencil)
  • Shimmerz: Dazzlerz: Spun Sugar (I mixed the Broken China Distress Oxide in it before applying)
  • Creative Essentials Laminated Burlap (white, for the BG)
  • The little bit of burlap looking stuff under the sand dollar is from The Paper Company
  • Hemp twine
  • Water color paper (anchor)
  • Chipboard with white gesso on it (seahorse and sand dollar)
  • Eyelets from I don't know where
  • Echo Park - Summer Fun Collection - 6 x 6 Stencil - Beach Towel
  • Ranger Ink - Glossy Accents
  • Distress Collage Medium - Vintage
  • Distress Oxides Ink Pads - Peeled Paint, Broken China, & Iced Spruce
  • Distress Stains - Fossilized Amber & Cracked Pistachio
  • Distress Spray Stain - Rusty Hinge
  • Sizzix - Tim Holtz - Framelits Dies and Repositionable Rubber Stamps - Compass Blueprint
  • Spellbinders - D-Lites Die - Seahorse and Sand Dollar
  • Prima - Snowflake Paste
  • Prima - Watercolor Confections - Decadent Pies


Elixir of Life


Hello everyone! Today I have a set of ATCs I created for the June ATC Swap over at scrapbook.com hosted by MarciLB (A Scrap From Marci)! The category? Medicine! And here's the story of how I came up with these ATCs! I kept thinking and thinking of what to do for this category, and it really had me stumped! I wasn't even sure I'd get them done I was so stumped! Thankfully MarciLB has a "your interpretation" rule! As I sat at my computer one day sipping on coffee it made me think of how the husband has always referred to coffee as the "elixir of life," which led me to think about how an elixir is "a magical or medicinal potion." Therefore, coffee is medicine! (And let's face it, it is rather magical...)


Elixir of Life ATCs
Elixir of Life ATCs

I used (half) of a manila folder as the background material for my ATCs, and added a layer of Shimmerz AcriTonez 3 Sheets to the Wind as my base coat and used my heat gun to dry it. I wanted to use a make-up wedge to spread the Vicki Boutin paint on, but I couldn't find package of them! I am the only (human) female in the house, and I lost my own make-up wedges! I did end up finding an old sponge in my make-up box that disintegrated after the one use, but it managed to serve it's purpose.
Saltwater Taffy - Acrylic Paint Set 2 (American Crafts)
Old sponge from the center of the applicator in a pressed powder compact!


After heat drying the layer of Saltwater Taffy I added a layer of Daiquiri Ice with a baby wipe!

Daiquiri Ice - Acrylic Paint Set 2 (American Crafts)

After the Daiquiri Ice was spread on and dried I cut out my ATCs (2 1/2" x 3 1/2")! At first I had only planned on using Barely Beige Dye Ink by Simon Says Stamp for the stamping on the background, but as I inked the edges of the ATCs (after lightly sanding) with Ground Espresso Distress Ink, I decided to "re-stamp" the backgrounds! I didn't want full coverage with the Ground Espresso, so I placed the stamp (Stampabilities: Grungy Grid Background) on it's back, placed my ATC on the stamp, and randomly pressed and tapped the ATCs on the stamp!

Only stamped with Barely Beige by Simon Says Stamp

Edges lightly sanded and inked with Ground Espresso Distress Ink

Adding the Ground Espresso to the background!
After I had the backgrounds finished, I worked on the Mini Crazy Cats (Tim Holtz Mini Crazy Cats & Dogs stamps & dies). As the cats were drying I worked on the cup of coffee and the phrase, both from Simon Says Stamp Coffee and Tea Stamp Set.

Almost done! Just adding the steam!
The cup of coffee was stamped with Lawn Fawn's Fake Tan and embossed with a la mode clear embossing powder, and the phrase was embossed with Wendy Vecchi's Watering Can!

The quick overview of the cat and milk bottle! They are stamped with Ranger's Black Archival Ink, cut with my Sizzix Big Shot using the (extended) magnetic platform & extended cutting pads, and colored, using a Ranger Water Brush (Nib), with the following:
  • Abandoned Coral, Black Soot, Candied Apple, Fossilized Amber, Ground Espresso, Picket Fence, Tumbled Glass, Weathered Wood, and Wild Honey Distress Markers.
The coffee cup and saucer are colored with:
  • Fossilized Amber & Spiced Marmalade Distress Oxides
  • Shimmerz Orange Sherbet
And, the coffee is Distress Paint Ground Espresso!